Showing posts with label baking. Show all posts

Mini eggs Easter fudge recipe

Hey readers,

As Easter approaches, it's time to embrace the festive spirit and treat yourself to some delicious sweet treats.

Mini eggs Easter fudge recipe
 
What better way to celebrate the season than with a delightful and indulgent Mini Eggs Easter Fudge? 

This easy-to-make recipe combines the rich and creamy goodness of traditional fudge with the colourful and crunchy Easter favourite, Mini Eggs, to create a mouthwatering treat that is sure to impress your family and friends.

Ingredients.


400g white chocolate.


*1 can of sweetened condensed milk.


1/4 cup butter.


1 teaspoon vanilla extract.


200g Mini Eggs, crushed.


Instructions.


1. Line a square baking dish with parchment paper, leaving an overhang on the sides for easy removal later.


2. In a medium saucepan, combine the white chocolate, sweetened condensed milk, and butter over low heat. 


Stir continuously until the mixture is smooth and well combined.


3. Remove the saucepan from the heat and stir in the vanilla extract.


4. Gently fold in the crushed Mini Eggs, reserving some for topping.


5. Pour the fudge mixture into the lined baking dish, spreading it out evenly.


6. Sprinkle the remaining crushed Mini Eggs on top of the fudge and gently press them into the surface.


7. Chill the fudge in the refrigerator for at least 2-3 hours, or until set.


8. Once set, remove the fudge from the dish and cut it into squares.


9. Serve and enjoy this delightful Easter treat with your loved ones!


This Mini Eggs Easter Fudge recipe is not only delicious but also a fun and colourful addition to your Easter celebrations. 


The combination of creamy white chocolate, sweet condensed milk, and crunchy Mini Eggs creates a delightful texture and flavour profile that is sure to satisfy your sweet tooth.


Whether you're looking for a festive treat to enjoy with your family or a homemade gift to share with friends, this Mini Eggs Easter Fudge is a perfect choice. 


It's simple to make, requires minimal ingredients, and is sure to bring joy and sweetness to your Easter festivities.


So, why not whip up a batch of this irresistible Mini Eggs Easter Fudge and indulge in the magic of Easter with every creamy, crunchy bite? 


Get ready to delight your taste buds and spread joy and sweetness this Easter season with this delectable fudge recipe.


Cheers for reading X 

How to make lemon drizzle cake

Hey readers,  

Lemon drizzle cake is a quintessential British treat, beloved for its zesty flavour, light texture, and irresistible sugary topping. 

Whether you're serving it with tea, as a dessert, or just because you need a pick-me-up, this cake is sure to please everyone who takes a slice. 

How to make lemon drizzle cake.

Below is a step-by-step guide to baking the perfect lemon drizzle cake at home, with a few tips to ensure success every time.
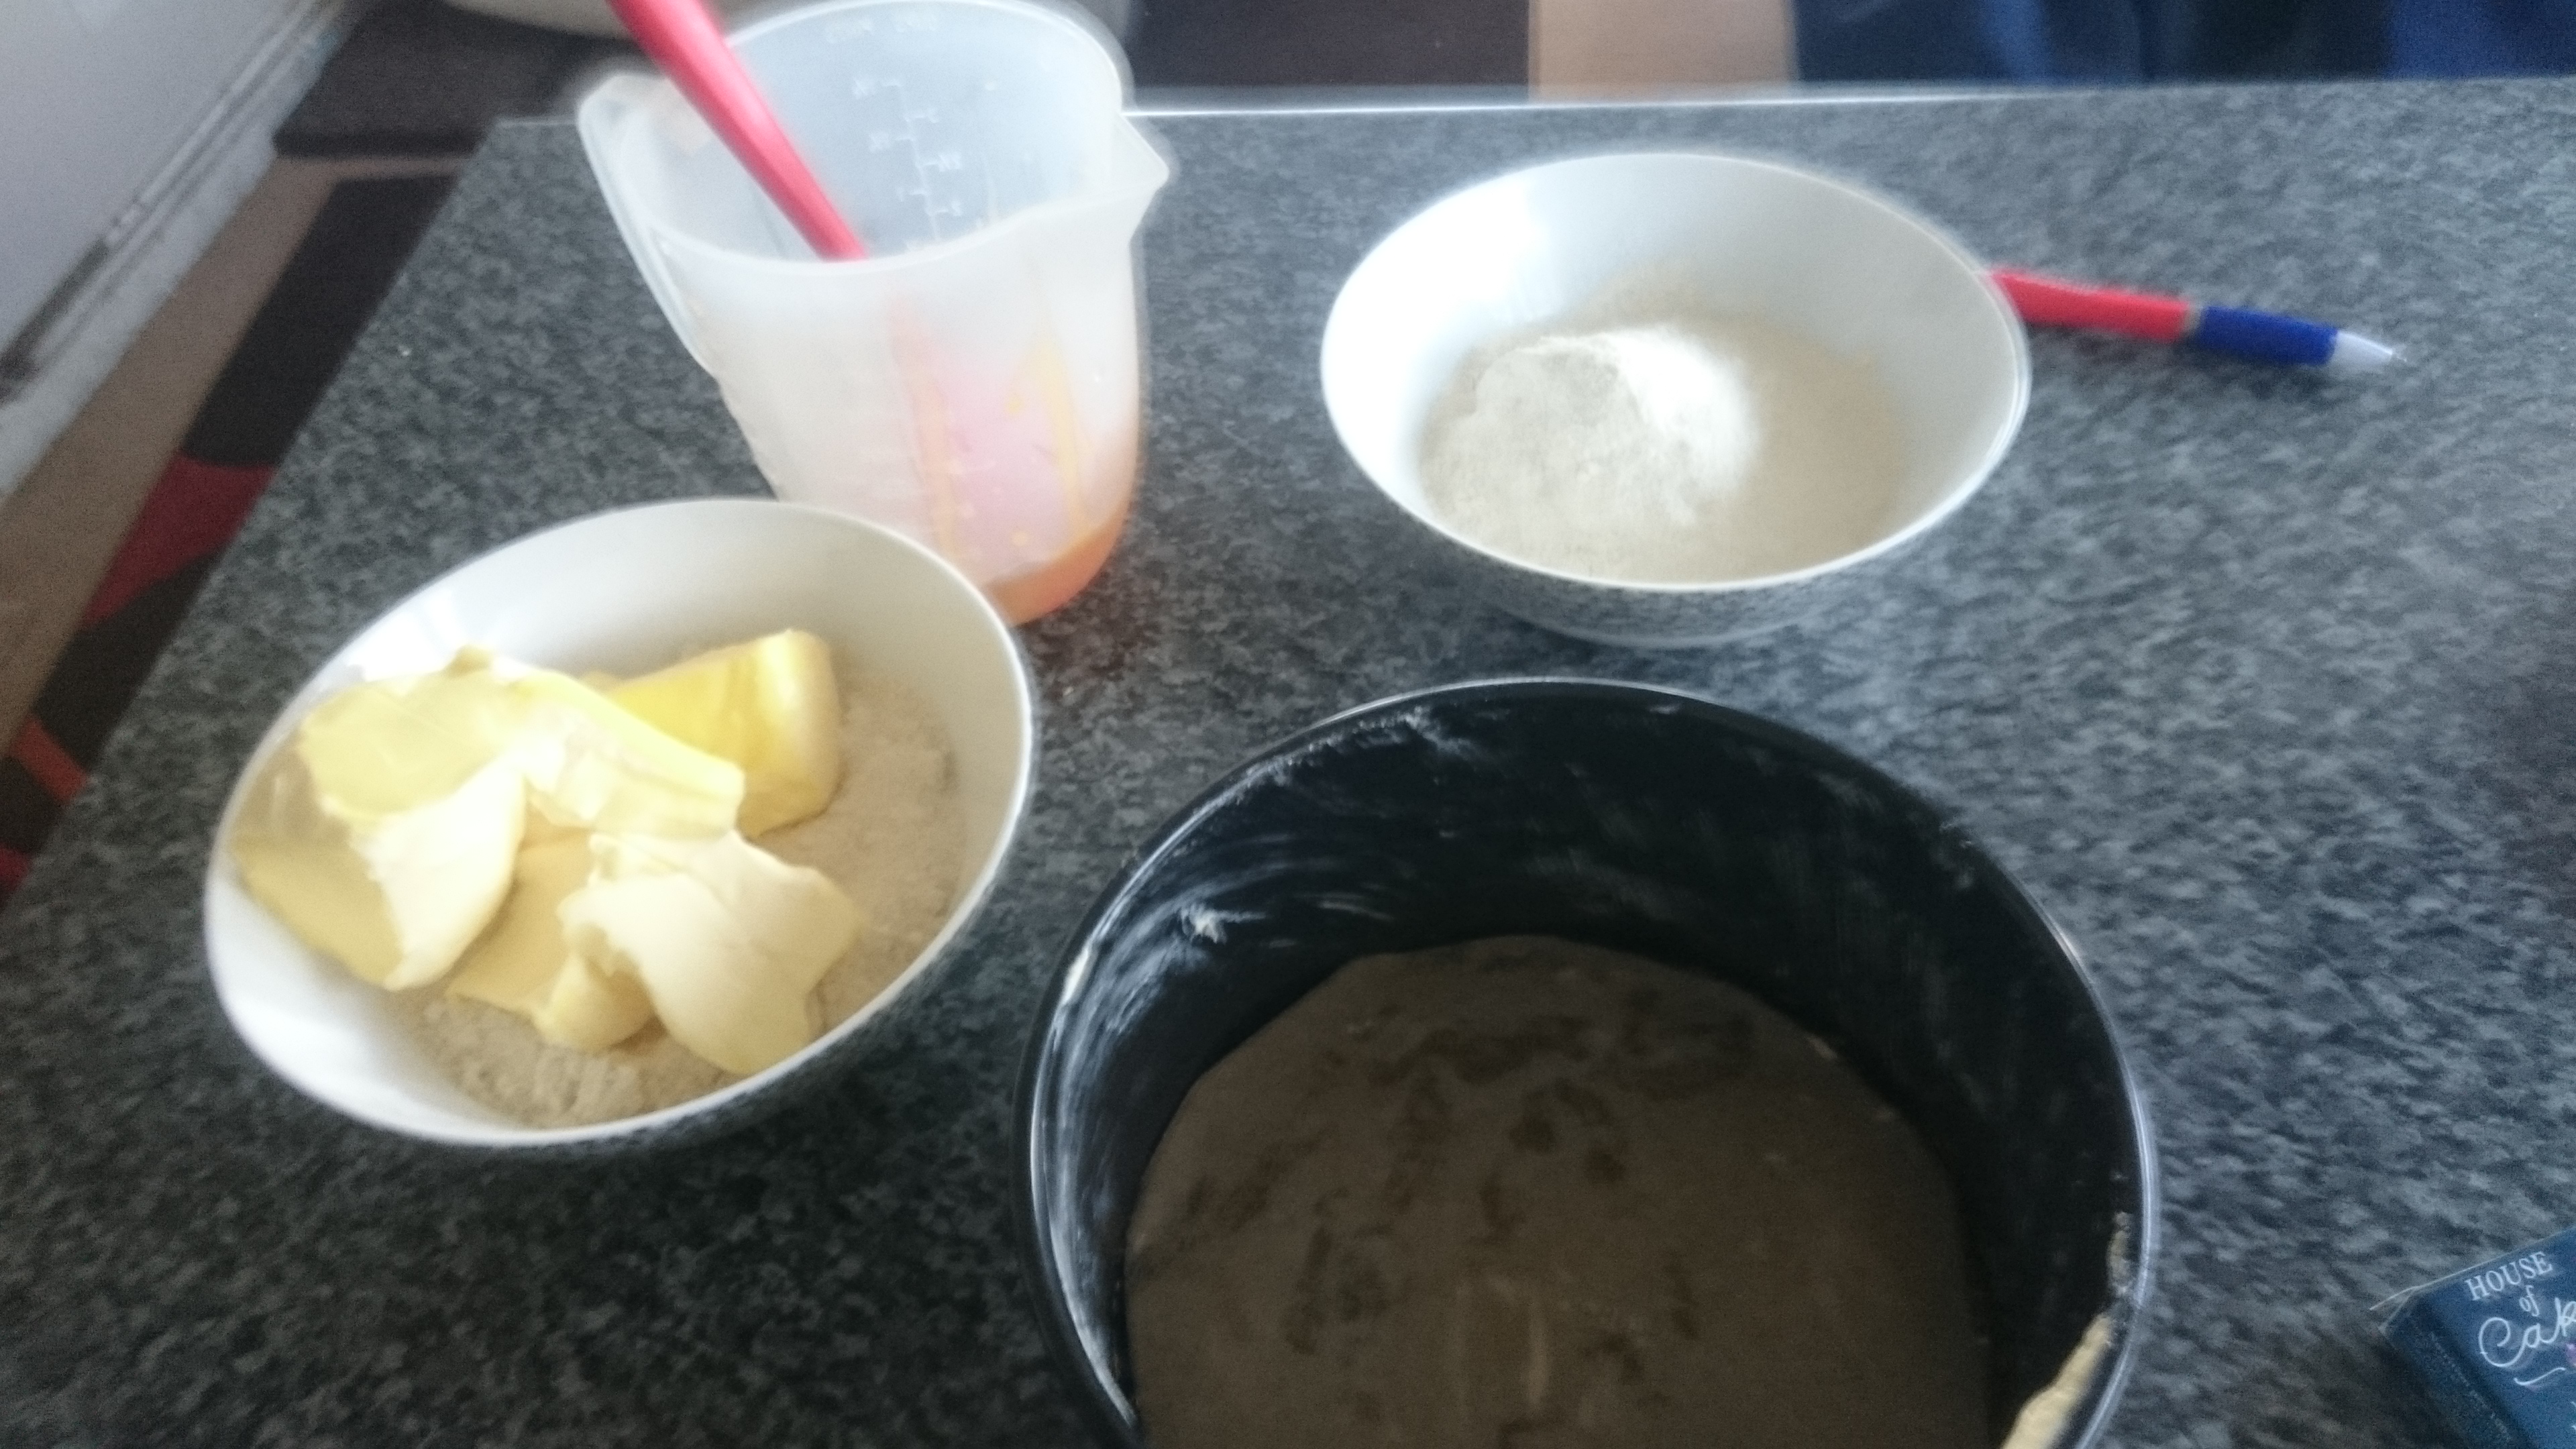
 
 Ingredients.
 
For the cake:

* 225g unsalted butter, softened.

225g caster sugar.

4 large eggs.

225g self-raising flour.

1 tsp baking powder.

Zest of 2 unwaxed lemons.

2 tbsp of milk (optional for a lighter texture).
 
For the lemon drizzle topping.

Juice of 2 lemons.

85g granulated sugar.

Method. 

1. Preheat Your Oven.

Preheat the oven to 180°C (160°C fan) Grease and line your loaf tin with baking parchment to prevent the cake from sticking.
 
 2. Cream the butter and sugar.

In a large mixing bowl, cream together the softened butter and caster sugar using an electric whisk or stand mixer until the mixture is pale and fluffy. 

This usually takes about 3–5 minutes. 

This step is essential for creating a light, airy cake texture.

 3. Add the Eggs.

Beat the eggs in one at a time, making sure each egg is fully incorporated before adding the next.

 If the mixture starts to curdle, you can add a tablespoon of flour to help bring it back together.
 
4. Sift in the flour and add zest.

Sift the self-raising flour and baking powder into the bowl, folding it into the mixture with a spatula or wooden spoon. 

You don’t want to overmix at this stage, as it can make the cake dense.

 Once the flour is almost incorporated, add the zest of two lemons.
 If you prefer a lighter cake, add the 2 tablespoons of milk here to loosen the batter slightly.

 5. Pour Into the Tin.

Spoon the batter into your lined cake tin and smooth the top with a spatula. Give the tin a gentle shake to settle the mixture evenly.

6. Bake the Cake.

Place the tin in the oven and bake for 40–50 minutes.

 The cake should be golden brown on top, and a skewer or toothpick inserted into the centre should come out clean.

 If it's still sticky, give it another 5-10 minutes and test again.

7. Make the Lemon Drizzle.

While the cake is baking, prepare the lemon drizzle.

 In a small bowl, mix the lemon juice and granulated sugar until it forms a runny, sugary syrup.

 The granules of sugar shouldn't completely dissolve; they will add a lovely crunch to the topping.

 8. Drizzle the Cake.

As soon as the cake comes out of the oven, use a skewer to poke holes all over the top.

Then, slowly spoon the lemon drizzle over the cake, ensuring it seeps into the holes. 

This will give the cake its trademark moist texture and sharp lemony kick.

9. Cool and Serve.

Let the cake cool in the tin for 10 minutes, then transfer it to a wire rack to cool completely. 

Once it’s cool, slice and enjoy!

 Tips for the Best Lemon Drizzle Cake.

Room Temperature Ingredients.

Make sure your butter and eggs are at room temperature before you start baking. Cold ingredients can lead to a lumpy batter or dense cake.

Use Fresh Lemons.

For the best flavour, always use fresh lemons rather than bottled lemon juice.

 The zest is where a lot of the flavour comes from.

Don’t Skip the Drizzle.

The lemon syrup is what makes this cake special.

 Poking holes in the cake helps the syrup seep in, making the cake incredibly moist and flavourful.

Storing Your Cake.

Lemon drizzle cake keeps well in an airtight container for up to 4-5 days. 

You can also freeze slices for a quick treat later on just let them defrost at room temperature.
 
 Variations to Try.
 
While the traditional lemon drizzle cake is hard to beat, here are a few variations you can try for a twist.

Lemon & Poppy Seed Cake.

Add a tablespoon of poppy seeds to the batter for a crunchy, nutty texture.

Lemon & Blueberry Drizzle Cake.

Fold in a handful of fresh or frozen blueberries into the batter before baking for a burst of juicy sweetness.

Glazed Lemon Drizzle.

 For a sweeter, richer finish, you can top the cake with a thick lemon glaze by mixing icing sugar with lemon juice instead of using granulated sugar.

 
Lemon drizzle cake is one of those fool proof bakes that always hits the spot, whether for a midweek treat or a special occasion.

It’s tangy, sweet, and incredibly easy to make, even for novice bakers. 

So next time you're in the mood for something citrussy and comforting, whip up this classic UK favourite and watch it disappear in no time!
 
Happy baking!

Cheers for reading X 

Air fryer baked potato recipe.

Hey readers, 

Seemingly anything and everything can be cooked in an air fryer via the quick and healthy alternative. This includes the humble jacket potato.

There’s nothing quite tucking into a hot and fluffy jacket potato with your topping of choice - be it baked beans and melted cheese or tuna and egg mayonnaise.

One of her latest quick and easy recipes to do in the air fryer is the good old jacket spud. Not only does it save time on cooking it in an oven, but it also saved much-needed energy in the home, at a time when bills are on the rise.

Below is a how I make a jacket potato in the air fryer, really simple and easy anyone can do it. 

Air fryer baked potato recipe.

 1. Pre-heat the air fryer at temperature 200c for about 5 minutes.

  • 2. Wash and dry your potatoes and stab them all over deeply with a sharp knife or fork

    3. Brush or spray the oil over the potatoes and season with salt and pepper to your taste Set to Bake/Roast at 200c for 16 minutes. 

    4. Turn half way through repeating the oil and seasoning on the other side.

5. Set to Air Crisp at 200 degrees centigrade for 15 to 20 mins. Turning the potatoes half way through. You can increase/decrease this time to get the crispiness you prefer this is just a guide time. 

Air fryer baked potato recipe.

Enjoy X 

How to make chocolate brownies in the air fryer.

Hey readers,

Air fryer brownies – gooey fudgy brownies cooked to perfection in your air fryer. Follow my easy air fryer brownie recipe below; you won't regret it!

How to make chocolate brownies in the air fryer.
Ingredients needed.
 
* 80g peanut butter, divided. 

* 40g butter.

120g of dark chocolate, divided.

175g golden caster sugar. 

2 large eggs, beaten.
 
* 60g of self-raising flour. 

30g cocoa powder. 

Directions. 

1. Spray the silicon tray (or if there is no tray, take out a crisper plate and spray the drawer) with cooking spray or oil and line the base with a piece of baking parchment.

2. Break up the dark chocolate into pieces, and add into a saucepan with peanut butter and butter.

Gently melt and leave to cool. Meanwhile, in a large bowl, whisk together the sugar and eggs until thick and creamy, like salad cream.

Add in the chocolate mixture and whisk together.
 
3. Sieve the flour and cocoa powder into the bowl and fold in with a sizeable mental spoon.

Spoon the brownie mixture into prepared lined drawers/trays.

Melt peanut butter in the microwave for 40 seconds.
Drizzle over the top of the brownie. 

4. Insert zone 1 drawer unit. Select zone 1, select BAKE, set the temperature to 160C and set the time to 35-40 minutes—press START/STOP.

5. After 30 minutes, remove the zone 1 drawer, and check whether the brownie is cooked.
The brownie is ready when it is soft to the touch in the centre. 

6. Melt the remaining chocolate in the microwave for 20 seconds and stir.

7. Drizzle the melted chocolate over the top of the brownie. 

8. Leave to cool in the drawer. 

How to make chocolate brownies in the air fryer.

9. Leave to cool before lifting out, using the lining paper as a sling.

10. Cut the brownie up into squares. 

Enjoy X

Chocolate chip cookie recipe

Hey readers,

Looking for a fun recipe for a six-year then you need to try this chocolate chip cookie.

Ingredients.

* 15g of Chocolate chip cookies or chocolate.

*100g Brown Sugar.

* 1 egg.

* 125 unsalted butter.

* 225g self-raising flour.

* 1/2 tsp of salt.

* 1 1/2 tsp of Vanilla extract/essence.

img_79181.jpg

Method.

1. Preheat oven 200c.

2. Put the butter and sugar into a bowl and mix well.

3. Add the egg and vanilla extract/essence.

IMG_7921

IMG_7923

IMG_7926

3. Sieve the flour and salt and mix into the mixture.

IMG_7924

4. Add the chocolate chips and mix in. Then roll the mixtures into a ball and place on to a tray with parchment paper.
IMG_7927

 Make sure there is plenty of space between the cookies as they expand when baking.


IMG_7928

IMG_7930

5. Place the cookies in the oven and cook for about 7-10 minutes.

6. When you take the cookies out leave them on a cooling rack for about five minutes before eating them.

Cheers for reading X


Shank You Very Much

Quick and easy chocolate sponge cake recipe


Hey readers,

Looking for a simple effect chocolate sponge cake. Then check out my recipe below.


Ingredients.

* 150g milk chocolate.

* 6oz self-raising flour.

* 6oz sugar.

* 6oz butter.

* 3 eggs.

* 7-inch cake tin.

Method

1) Preheat the oven 170c and grease the sandwich tin and line with parchment paper.


2) Put all the sugar and butter into a bowl and mix together with an electrical whisk.

3) Crack all the eggs into a jug, then slowly pour a little egg into the mix and whisk. The consistency should be creamy.


4) Next, gradually add the flour and mix into the mixture until the flour is all mixed in.

5) Melt the chocolate in the microwave for a minute and then mix into the mixture.

6) Pour the mixture into the cake tin.


7) Place in the centre of the oven. Cook for 25 minutes then checks the cake with a toothpick to check if the cake is cooked. I had to constantly check it a fair few times (5-minute intervals) until the stick was clear.

8) Take the cake out of the tin and place it on to a cooling rack to cool down.

9) Enjoy.


Cheers for reading X

Easter Cornflake cakes Recipe.

Hey readers,

Looking to do something with a young child over the Easter holidays then you need to check out this simple recipe.


Ingredients.


* 50g of butter.

* 100g of milk or dark chocolate.

* 100g cornflakes.

* 3tbsp of golden syrup.

* Mini eggs (for decoration).

*Cupcake cases (my Easter themed ones come from Poundland and they have decorative pictures on a stick that can stick in the cake).

Method.

1. Measure out the ingredients.

2. Melt the butter and chocolate, one at a time in the microwave.


3. In a bowl place the corn flakes, add the golden syrup, chocolate and butter. Mix all together so the cornflakes get all covered in the chocolate mix.


4. Pour the mix into cupcake holders (o got my Easter themed ones from Poundland). Stick the decorative sticks in if you have some.


5. Place a couple of mini eggs in the middle.

6. Place the cakes on a tray and put them in the fridge for a good couple of hours or until set.


7. Voila there you easter cakes.

Enjoy.

Cheers for reading X

Purple swirl meringues recipe.

Hey readers, 

Check out this twist to the classic meringues with these fun and colourful swirl meringues.

Ingredients. 

Blue and purple colouring. 
★ 4 eggs. 
★ Caster sugar (we have golden as it is what we bake sponges with but use any you have).


**The sugar should be the same weight as what the eggs (with the shell on) are**. 

Method.  

1. Heat oven 150°c fan or equivalent. 

2. Make sure that everything is washed with a load of detergent even if you think it is clean as a tiny bit of oil/grease will stop the egg white from whisking. Wiping the bowls with lemon juice works a treat as a degreaser and speeds up the whisking later.

3. Measure out the same weight of caster sugar as your whole unbroken eggs. 


being stuck with golden castor doesn't matter because it only slightly dulls the white colour of the meringues. 

4. Separate the eggs and keep hold of the whites. Separate one egg at a time then put that white in the main bowl, this way if one yolk breaks you only lose one egg, not all the ones already separated (doing it this way with our children resulted in two individual eggs lost but thankfully not the whole batch each time) 


5. Put the sugar in a bowl with the eggs white. 


6. Whisk the mixture - a couple of minutes slow speed, couple of minutes medium speed and then medium or high speed until you get 'stiff' peaks. 


When you pull the whisk out the peaks should pull up and fold down on themselves gently. This is when you should be able to tip the bowl upside down. 


7. For the colour, take out a spoonful of the mix and put in one bowl and the same again in another bowl. 

8. In each colour bowl and a good squidge of colour and mix in a little. 

9. Put the blue mixture down one side of the piping bag. This was messy but we just did the best then laid the bag flat and squashed to the side with a silicone spatula on the outside of the bag. 

10. Repeat on the other side with the purple mixture - much messier.


11. Add all the white mixture in the centre of the bag the best you can, we used a tall jug to stand the bag in but a pint glass or vase works well too.

12. Pipe the mixture on the baking tray. Make sure that there is space between each meringue as they expand a little when baking in the oven. A little tip- put a tiny bit of meringue mixture on all the corners of the baking tray to help stick the greaseproof paper down.


13. Put the meringues into the oven on a low shelf and turn the oven down to 140°c - bake like this for 50 minutes. 


14. After 50 minutes, turn the oven off but leave the meringues in there and the door closed for a few hours until they are dried out and cold.
  

15. Put the meringues on a rack and melt some chocolate whichever way you find best - we use supermarket own milk 30%  cocoa and dark 70% cocoa mixed together- very nice. The easiest way for us is to break the chocolate up and place it in a bowl in the oven at either 40°c or 50°c for a few minutes.


16. Finally, the children dipped their bottoms into the chocolate then into either sprinkles or chopped hazelnuts. (the meringue bottoms, not their own!)


17. This produced a lovely light crisp meringue, if you want chewy or soft on the inside then you can experiment with a softer whisk consistency for chewy or couple of drops of vinegar and a small amount of cornflour for softer innards. Another method of bake we used to use was 120°c for 2 hours then turn the oven off, this seems to leave the meringue less 'hollow'.


Cheers for reading X